A Head-to-Toe Guide
We once spent an embarrassing amount of mental energy figuring out how to dress Cy for a cross-country ski day in the Thule Chariot, and got it completely backwards. The Chariot zips shut, so once he’s in there it’s just him and his own body heat doing the work: not moving, not generating anything extra, but also fully out of the wind. My brain kept running the math in circles: he’s not moving, so he needs more layers, but he’s also sealed off from the wind, so maybe fewer. I landed on more.
He was about a year and a half, bundled up like we were heading into a blizzard, and about twenty minutes in he was sweating, overheated, and completely done, meltdown and all, while we skied along cheerfully in our own base layers wondering what was wrong. The lesson stuck: a kid who’s enclosed and sitting still is a different layering problem than a kid who’s active and exposed, and “bundle up” is the wrong instinct for both of them, just for opposite reasons.
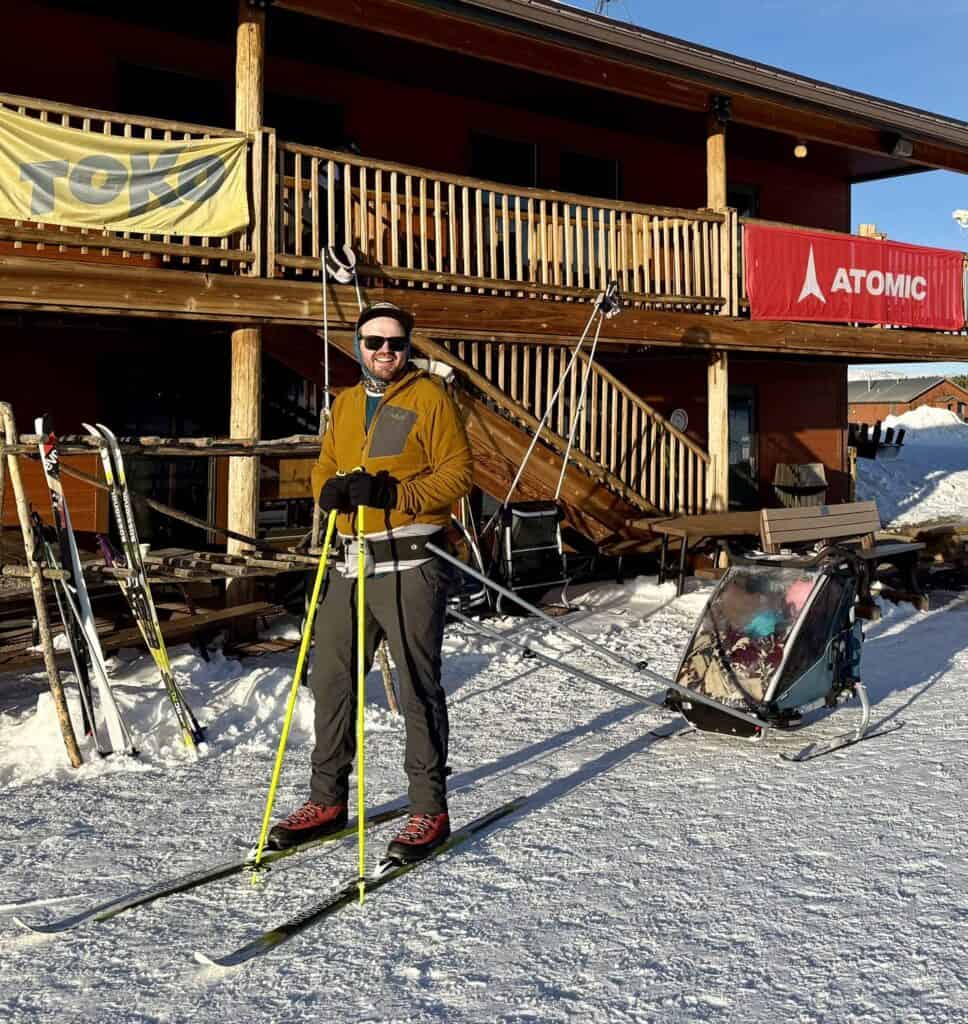
That pattern has held up every season since: the meltdown almost never shows up when the temperature itself is the problem. It shows up when the layering was wrong, whether that’s too much in a sealed-off carrier or a kid who got sweaty on the way up a trail and then cold on the way down. Layering for myself can still be a mystery, so, we get it.
Layering for kids isn’t complicated once you separate it into its actual jobs. It’s just rarely explained that way.
Bottom line: Three jobs, three layers. A base layer manages moisture, a mid layer holds warmth, and an outer layer blocks wind and wet. Get those three right and the specific brand matters a lot less than most gear guides make it sound.
Why “just add a jacket” doesn’t work
The instinct to solve cold with one thick layer makes sense, but it backfires for active kids for a simple reason: kids running, climbing, and playing generate heat fast and then stop just as fast. One heavy layer traps sweat with nowhere to go, and a sweaty kid gets cold faster than a dry one, even in the same temperature.
Outdoor guides sum this up as “cotton kills,” which sounds dramatic until you’ve had a kid in a soaked-through cotton shirt an hour into a cold hike. A layering system solves this by letting you add or remove pieces as their activity level changes, instead of betting everything on one layer being exactly right. The goal is to keep the kid warm, but not TOO warm. You don’t want sweat, you want just before sweat.
Layer one: base layer (moisture management)
The job of the base layer is to move sweat away from skin, not to provide warmth on its own. Merino wool and synthetic base layers both do this well; cotton does not, since cotton holds moisture against the skin once it’s wet and actively cools a kid down. This is the layer most parents skip or shortcut, and it’s the one that causes the most avoidable cold-and-damp complaints.
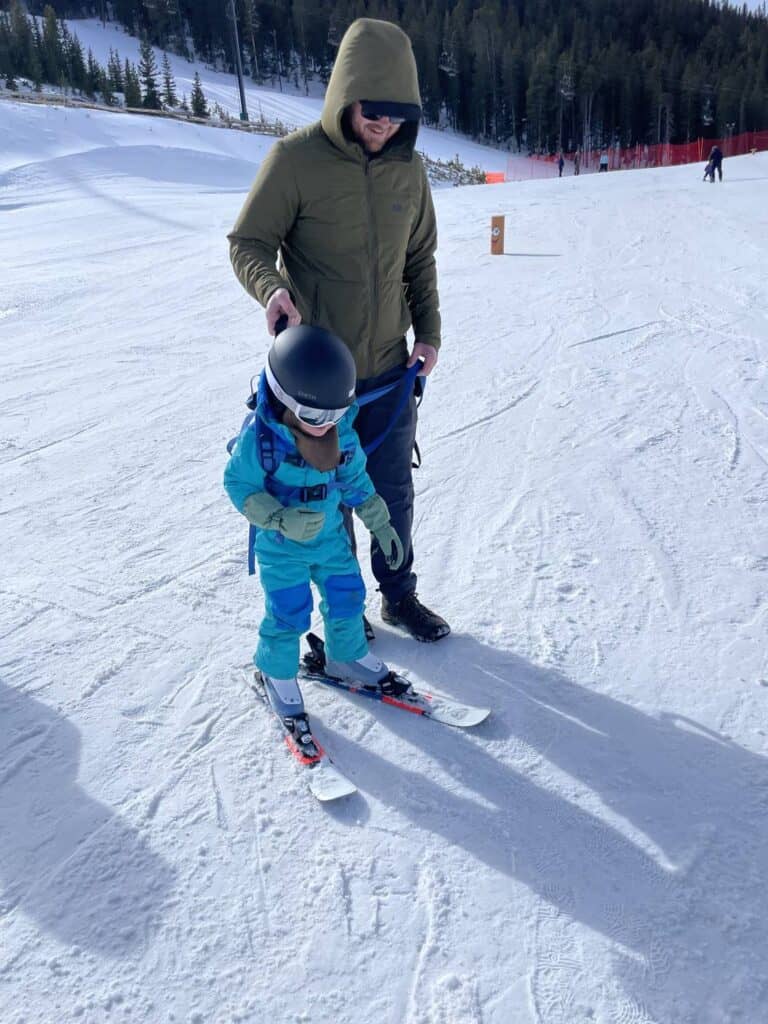
What to look for: snug but not tight fit (a base layer that’s too loose doesn’t wick as effectively), long sleeves and full-length bottoms for real cold, and a fabric that dries fast if it does get wet. Our kid wears Smartwool base layers to school almost every day in the winter because they’re outside so much.
One catch – once they get home and are inside the rest of the day, remove the base layers. Heat can turn into uncomfortable anger, ask us how we know.
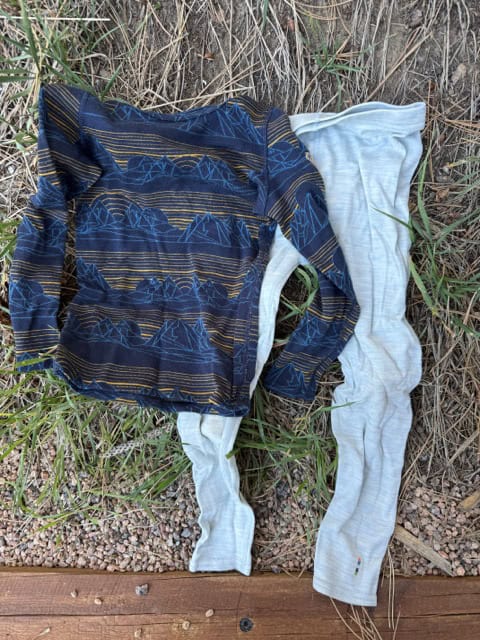
Our go-to base layer for cold mornings
Smartwool Classic Thermal Merino Base Layer Crew – Kids’
Midweight 100% merino wool crew that regulates temperature and resists odor between washes, worn as our base layer on cold-weather outings.
Layer two: mid layer (insulation)
This is the warmth layer: fleece, wool, or a lightweight puffy. Its job is to trap the body heat the base layer isn’t wicking away. For kids, a fleece is usually more practical than a puffy day-to-day, since it breathes better during active play and doesn’t lose loft as fast when compressed in a carrier or car seat.
What to look for: enough room to move an arm overhead without the layer riding up, and a fabric that still insulates a bit if it gets damp (wool and synthetic fleece both do this; down does not).
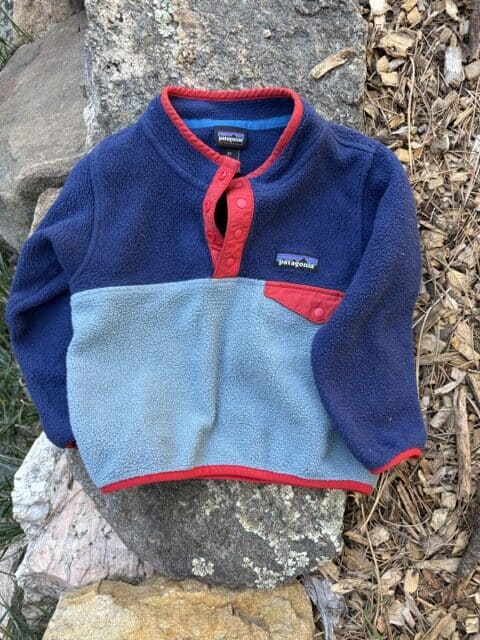
Our go-to fleece mid layer
Patagonia Microdini Half-Zip Pullover – Kids’
100% recycled brushed fleece half-zip with a zippered chest pocket, worn as our mid-layer warmth piece over a base layer.
Layer three: outer shell (wind and weather)
The outer layer’s job is to block wind and precipitation, not to add warmth by itself. This is where a lot of parents overspend on insulation and underspend on weatherproofing, ending up with a kid who’s warm in stillness but cold the second wind picks up, because the mid layer’s warmth is getting stripped away by moving air. A genuinely wind- and water-resistant shell, even a thin one, does more for comfort than a heavier but uninsulated-shell jacket. Our Best Rain Jackets for Kids guide covers the shells we’ve actually tested for this job, and our toddler rain jackets guide does the same for the littlest kids.
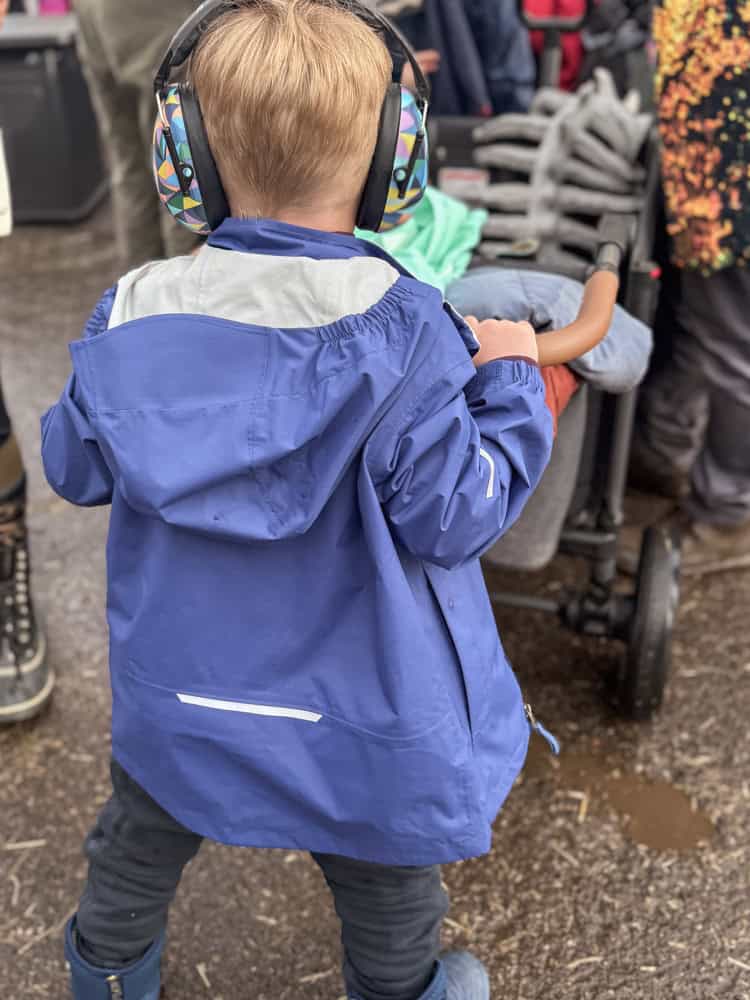
Best kids' rain jacket overall
Read our reviewREI Co-op Rainier Rain Jacket – Kids’
The most thoughtful design we tested. Soft neck, dual cuffs, adjustable hood — the one we'd buy if we were only buying one.
Enclosed and not moving? Different math entirely
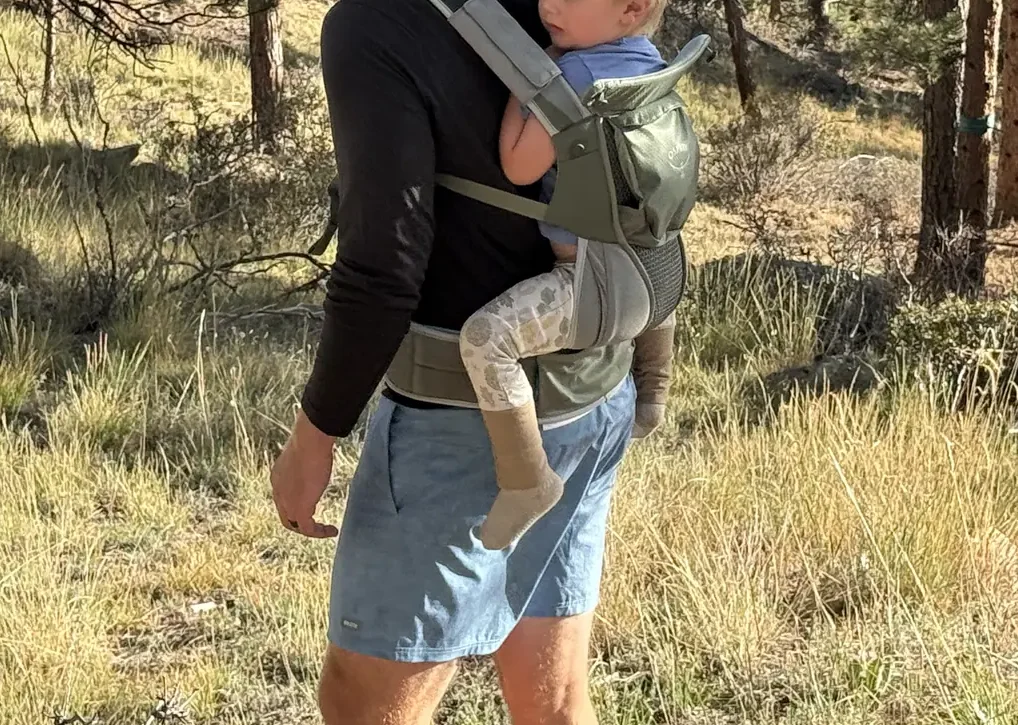
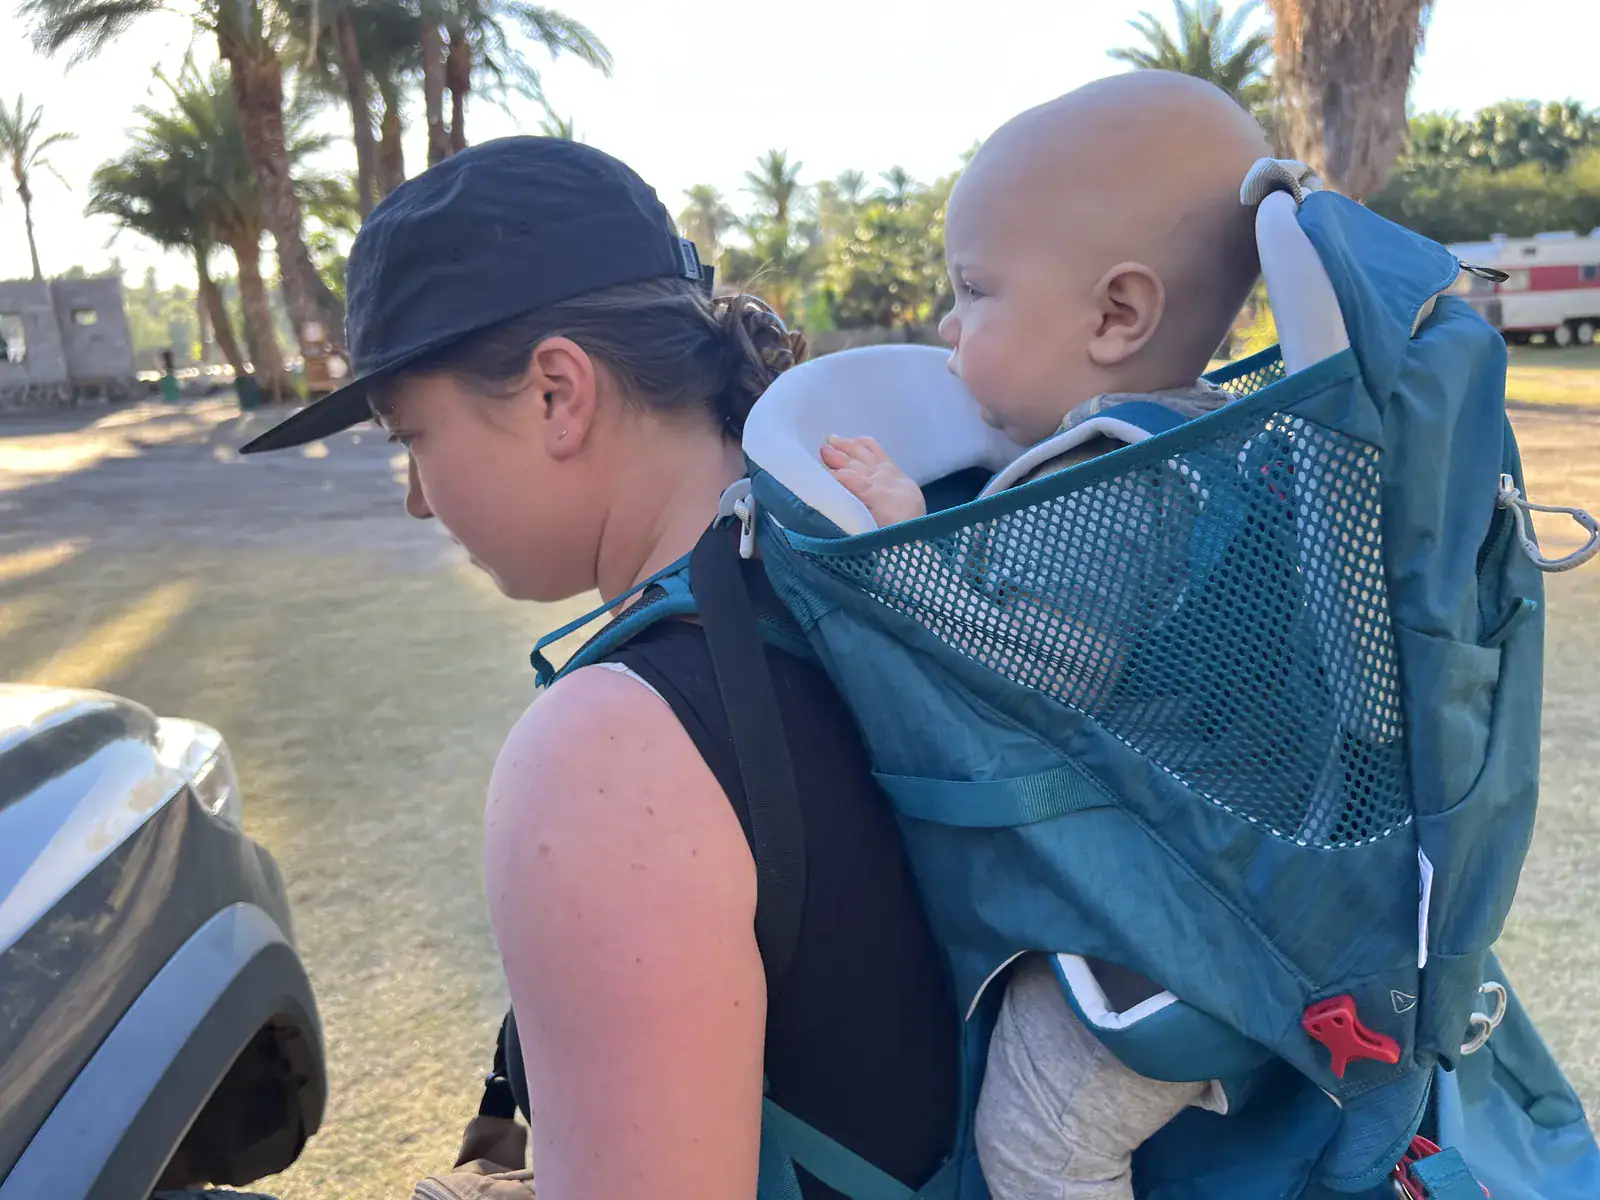
A bike trailer, ski chariot, stroller, or even a car seat under a blanket is its own layering category, and it’s the one most layering advice skips because it’s written with an active, exposed kid in mind. A kid sealed inside one of these is out of the wind but also generating very little of their own heat, which makes “bundle up the same as you would for the trail” the wrong call.
Dress them closer to what you’d wear for the same temperature indoors, one layer warmer, and check in on them every 15 to 20 minutes rather than assuming the enclosure is doing them a favor. Overheating in a sealed carrier can happen just as fast as getting cold in an open one, and it’s a lot easier to miss since there’s no wind or rain to blame it on.
The parts people forget: head, hands, feet
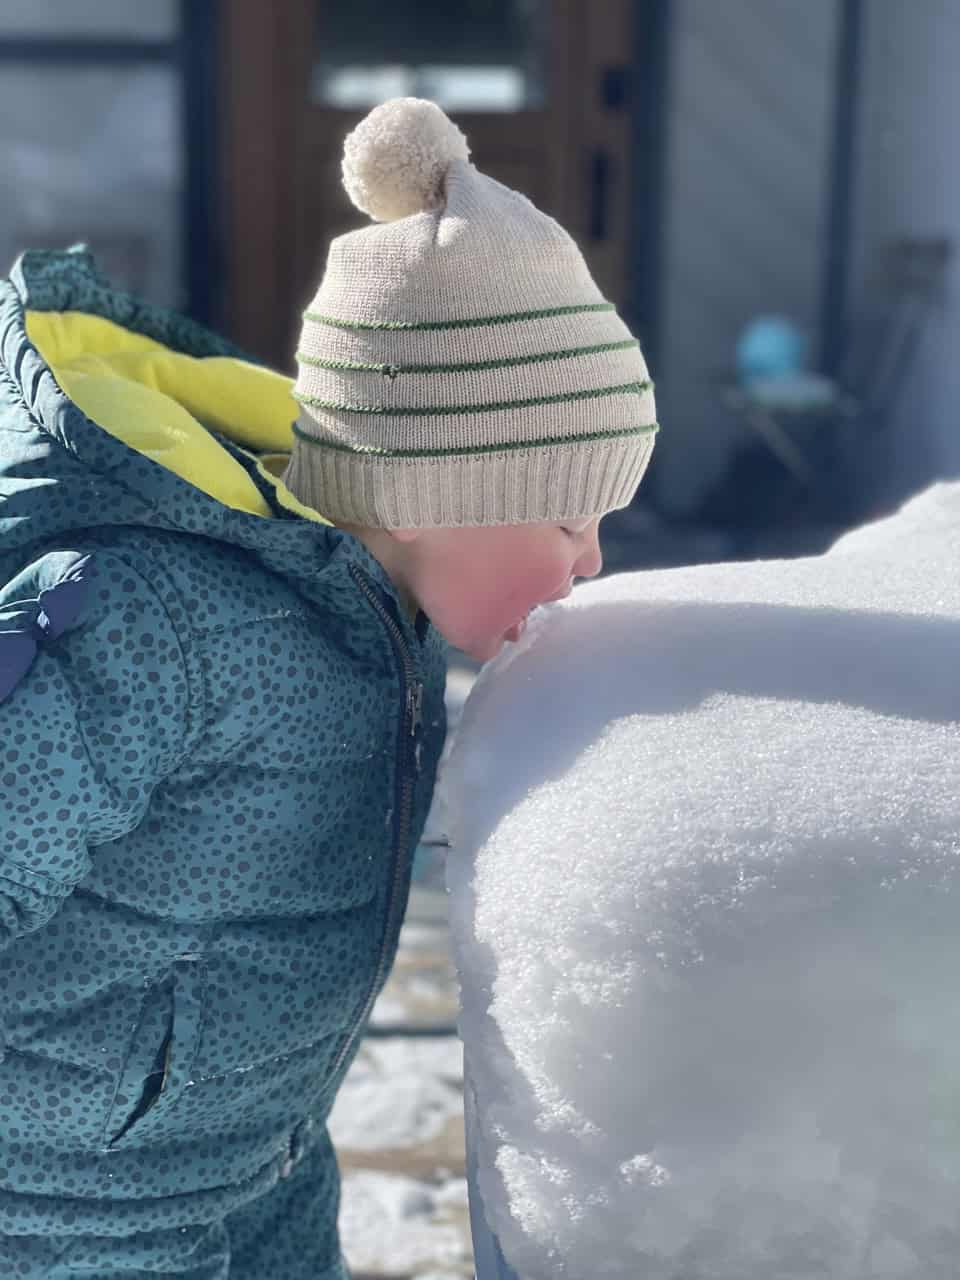
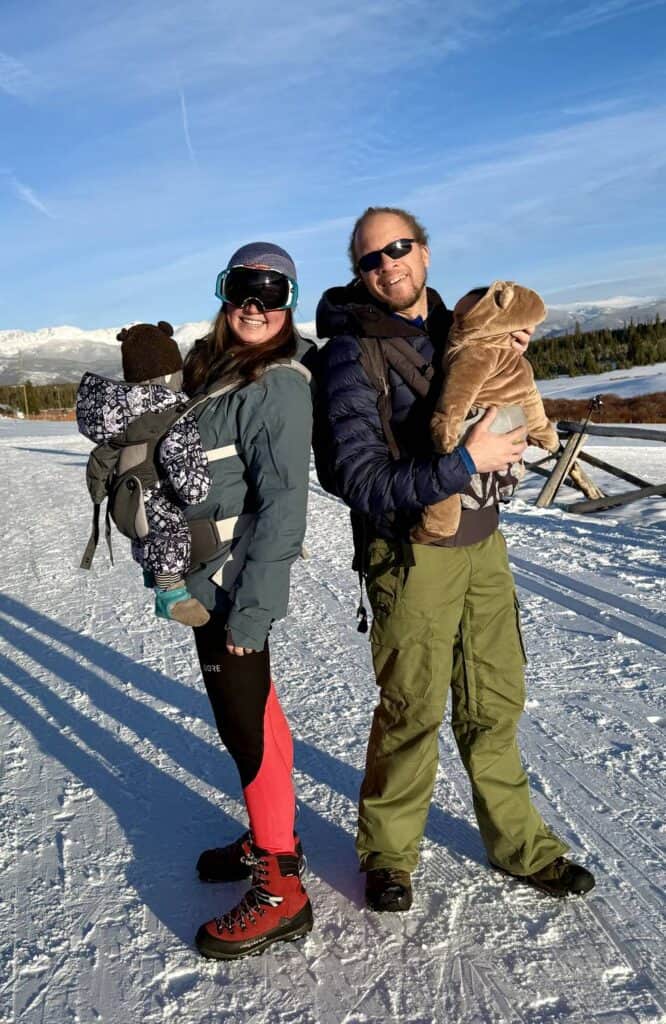
Heat loss through extremities is real and it’s usually the first place a kid registers being cold, often before their torso feels it at all. A warm hat (one that covers the ears, not just the crown), gloves or mittens they can actually keep on, and wool or synthetic socks under weatherproof boots matter as much as the jacket.
Sizing for growth without losing the system
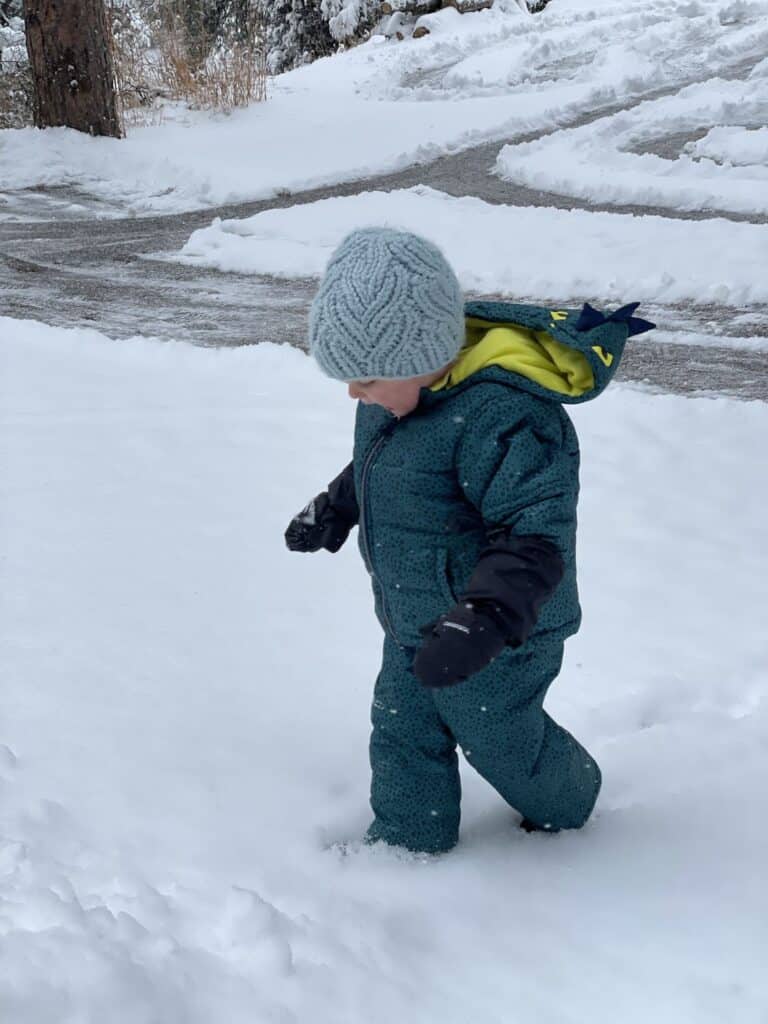
Buying a full cold-weather kit yearly is expensive, and it’s also unnecessary if you shop the layers correctly. Mid and outer layers are the easiest places to size up slightly and extend a season or two, especially anything with extendable cuffs or sleeves built in. Base layers are the one place to keep the fit snug and size-accurate, since a loose base layer doesn’t wick the way it’s supposed to. For babies and younger toddlers who generate less body heat than older kids, plan on one more layer than what an adult would wear in the same conditions.
The car seat problem
If cold-weather plans involve driving to a trailhead or campground, there’s a safety detail that has nothing to do with gear quality and everything to do with how the layers get worn: a puffy coat or snowsuit should never go underneath a car seat harness. The loft that makes a coat warm also compresses in a crash, leaving the harness dangerously loose even though it looked snug at pickup.
Dress in thin layers (base layer, regular clothes, a thin fleece), buckle the harness snug against those layers, and add warmth over the top of the buckled harness instead of under it, a blanket, or the coat worn backward like a cape. Add the puffy once you unbuckle them at the trailhead. It should already be warm from being on top of them (for tiny babies, don’t place anything on top of them that may slide toward their face).
How to know if it’s working
A well-layered kid should feel comfortably cool, not warm, right when you step outside. If they feel warm standing still at the trailhead, they’ll be sweaty and then cold twenty minutes in. The system is working if, after 15 to 20 minutes of activity, hands and feet are still warm to the touch and there’s no dampness at the neckline from sweat.
Know the warning signs
Most cold-weather days never get anywhere near this territory, but it’s worth knowing the difference between a kid who’s cold and a kid who needs to warm up immediately. Frostbite shows up as numbness, burning, pain, or skin that turns red, white, or bluish-white, most often on fingers, toes, ears, and noses. Hypothermia in kids can look like confusion, slurred speech, unusual drowsiness, or low energy, and in infants specifically, bright red, cold skin. One sign worth knowing because it’s counterintuitive: a child who stops shivering in cold conditions isn’t improving, that can mean the body’s warming response is shutting down. Any of this means heading indoors or to a warm vehicle right away, not pushing to finish the outing.
What doesn’t work
Buying one “does everything” winter coat instead of a system. It seems like the simpler, cheaper option, but it removes your ability to adjust as activity level and temperature change through the day, which is the entire point of layering. Also skip cotton anything as a base layer, even in mild cold. It’s the single most common layering mistake we see, and it’s an easy one to fix.
Frequently Asked Questions About Layering Kids for Cold Weather
How many layers does a kid actually need in cold weather?
Three functional layers (base, mid, shell) covers most conditions. In extreme cold, you add a second mid layer rather than a heavier single piece, which keeps the system adjustable.
Is down or synthetic insulation better for kids?
Synthetic insulation holds up better if it gets wet and is generally more affordable, which matters for a kid who’s still growing out of sizes yearly. Down is warmer for its weight but loses almost all insulating power when damp, which is a real risk with active kids.
Do kids get cold faster than adults?
Kids do tend to lose heat faster relative to body size, and younger kids are also less able to reliably tell you they’re cold before it becomes a problem, which is part of why checking hands, feet, and neckline dampness matters more than just asking.

Pro tip: Do a quick hand-and-neck check 15 minutes into any cold-weather outing. Cold hands or a damp neckline tells you to add or remove a layer immediately, before it becomes a full meltdown instead of a quick fix.
Roxy Dawson
I'm Roxy Dawson — New Yorker turned Coloradan, former full-time van dweller, outdoor industry veteran, and co-author of three Falcon Guides. I've spent the better part of a decade testing outdoor gear for adults across some genuinely terrible conditions. Then I had kids, noticed that nobody was doing that work honestly for the 0–14 age set, and built the site I kept wishing existed. Everything on Good Better Best has been tested by my actual children — currently ages two and five, with strong opinions and zero patience for gear that doesn't work. I test first. I write second. I don't recommend things I wouldn't buy with my own money.
More posts by Roxy